
Showing posts with label stained glass patterns. Show all posts
Showing posts with label stained glass patterns. Show all posts
Saturday, November 12, 2016


4 The Bodi Tree Panel

5 Lessons From A Lecture was the subject this week. The video is a little hard to hear, you may want to turn on the caption feature.
Fourth, Jeanne showed the "Bodi Tree" panel and explained the symbolism inherent in the design, including the roots of the tree and it's leaves.
To get our weekly newsletter, join our email list.
3 The Gather Ring Mandala

5 Lessons From A Lecture was the subject this week. The video is a little hard to hear, you may want to turn on the caption feature.
Third, Jeanne showed the "Gather Ring" panel and explained the symbolism inherent in the design.
To get our weekly newsletter, join our email list.
Tuesday, November 08, 2016
2 Start With A Pattern

5 Lessons From A Lecture was the subject this week. The video is a little hard to hear, you may want to turn on the caption feature.
Second David showed the bottom of the cube which showed the steps of building a stained glass panel. How we start with a pattern, trace the glass, foil and solder it.
To get our weekly newsletter, join our email list.
1 Seasons Of Creativity

5 Lessons From A Lecture was the subject this week. The video is a little hard to hear, you may want to turn on the caption feature.
First David showed a cube that we made to illustrate the "Seasons Of Creativity." First we Imagine, then we Create, Then we Share it and that Inspires someone else and the cycle continues, round and round.
To get our weekly newsletter, join our email list.
To see the video, click here.
Friday, October 28, 2016
5 Finish With Tail And Wheels
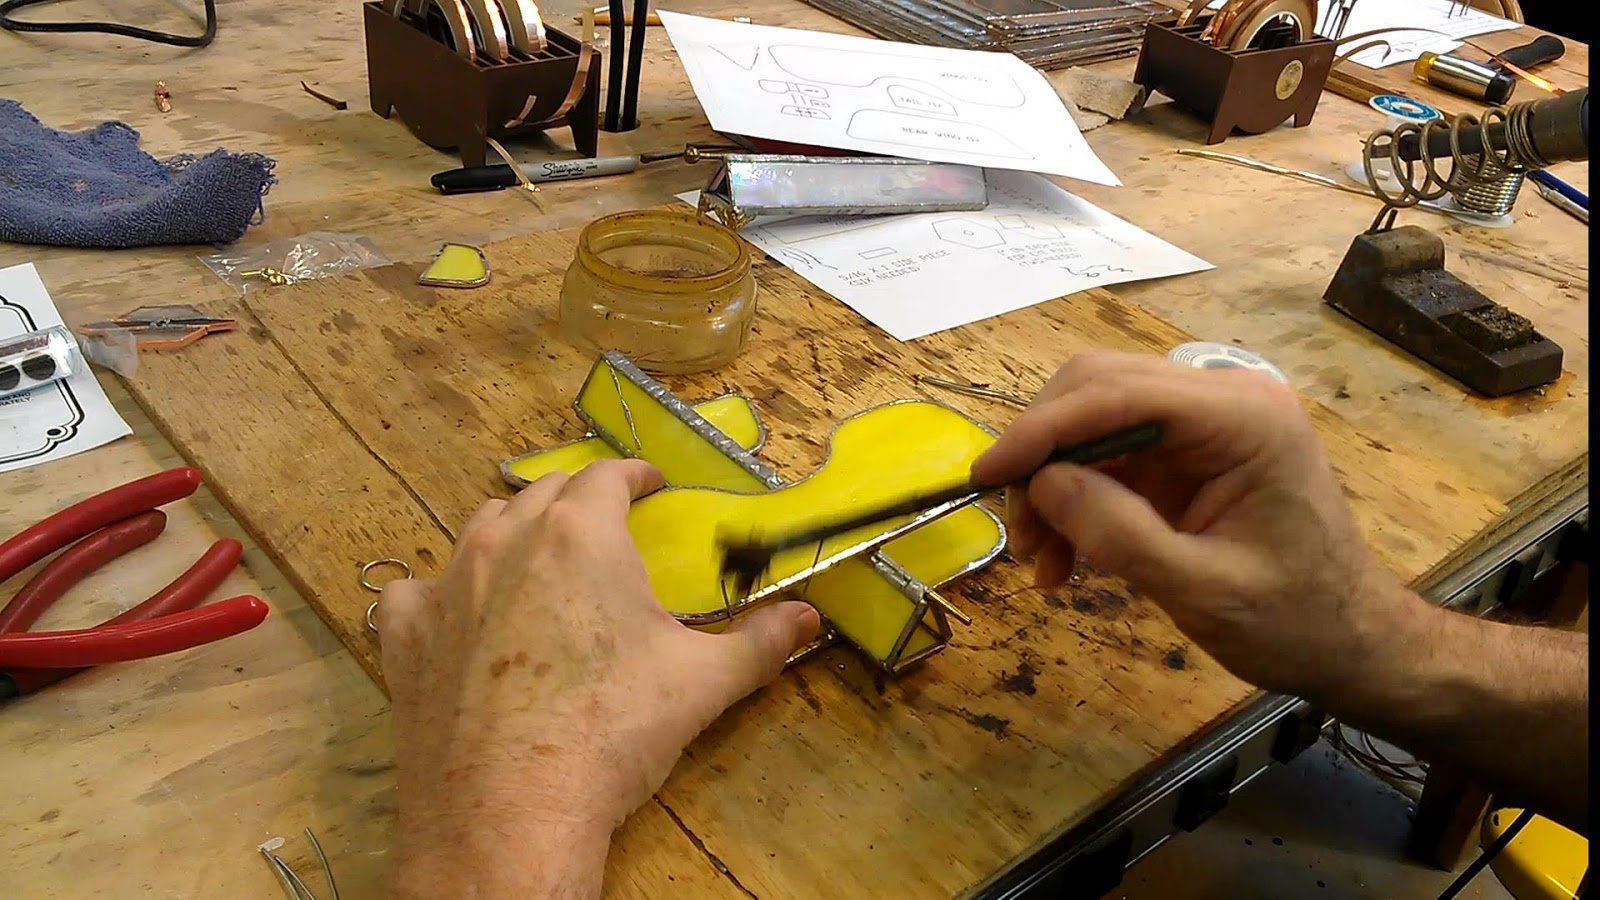
This week we revisit the instructions to creating an airplane kaleidoscope. Start with the kaleidoscope made from a mini-scope refill kit (instructions are available on our video sold on Amazon, click here for details) It's a pretty good project and the instructions can be helpful.
Fifth, once wires are in place the tail can be attached and the wheels can be soldered underneath.
Join us to receive our free weekly newsletter.
Click Here To Go To Video
Thursday, October 27, 2016
4 Solder The Upper Wing In Place

This week we revisit the instructions to creating an airplane kaleidoscope. Start with the kaleidoscope made from a mini-scope refill kit (instructions are available on our video sold on Amazon, click here for details) It's a pretty good project and the instructions can be helpful.
Fourth, tack the upper wing in place and add wires to hold it in place.
Join us to receive our free weekly newsletter.
Click Here To Go To Video
Wednesday, October 26, 2016
3 Solder On The Bottom Wings

This week we revisit the instructions to creating an airplane kaleidoscope. Start with the kaleidoscope made from a mini-scope refill kit (instructions are available on our video sold on Amazon, click here for details) It's a pretty good project and the instructions can be helpful.
Third, we tack the bottom wings in place and then solder them in solidly.
Join us to receive our free weekly newsletter.
Click Here To Go To Video
Tuesday, October 25, 2016
2 Use The PDF To Build Parts

This week we revisit the instructions to creating an airplane kaleidoscope. Start with the kaleidoscope made from a mini-scope refill kit (instructions are available on our video sold on Amazon, click here for details) It's a pretty good project and the instructions can be helpful.
Second, use the PDF to cut out the parts for the bi-plane. Click here to get the PDF.
Join us to receive our free weekly newsletter.
Click Here To Go To Video
1 Start With A Mini Scope Body
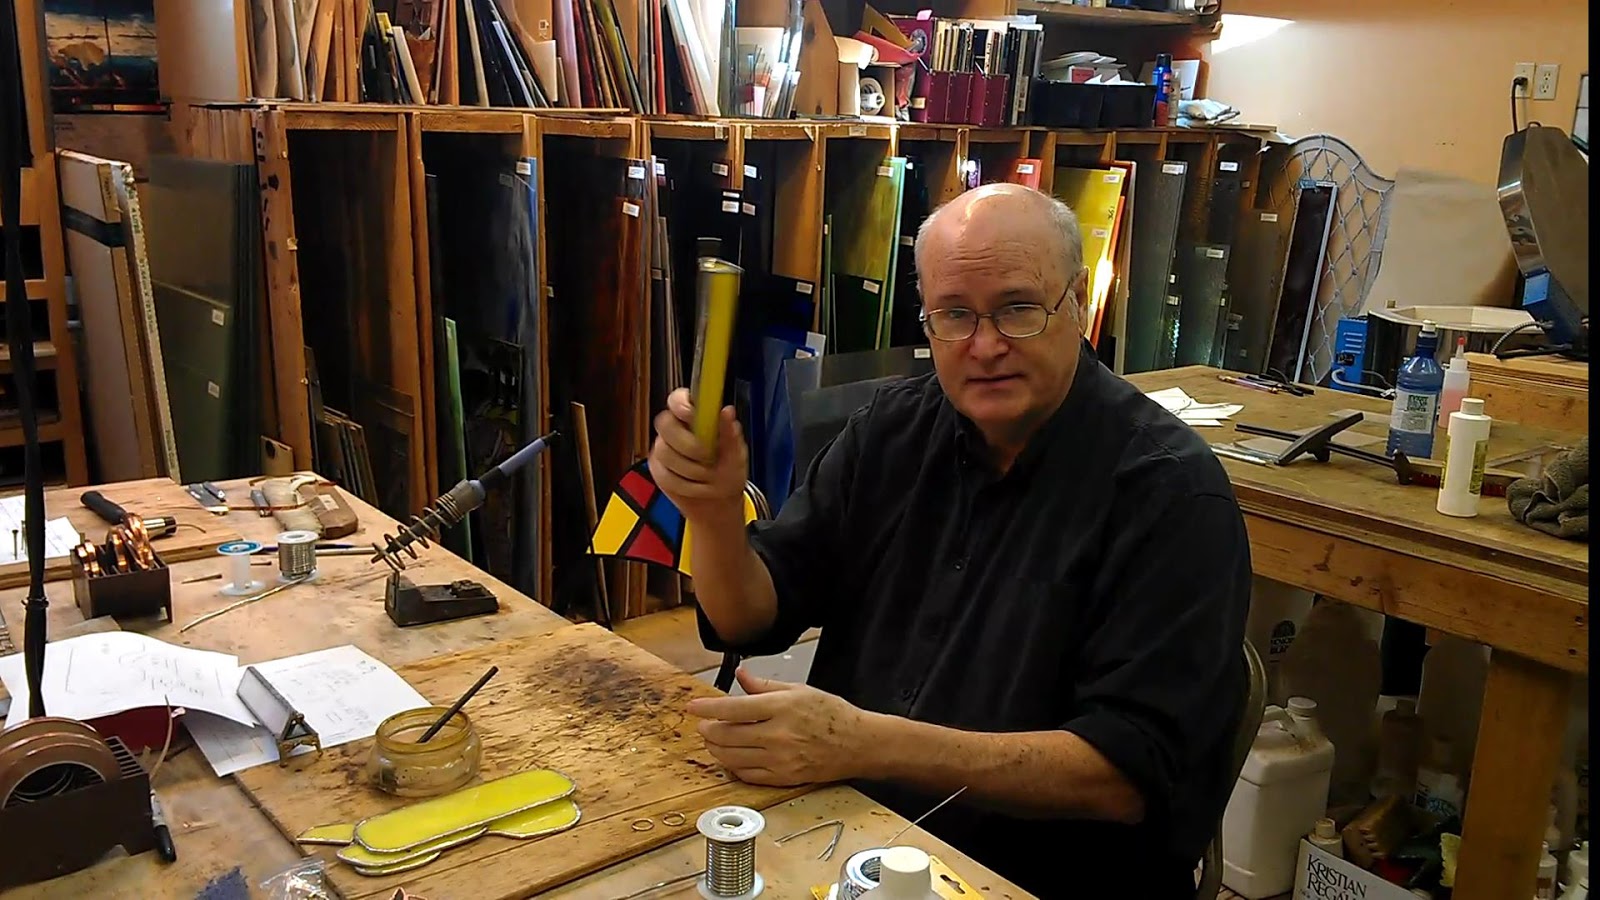
This week we revisit the instructions to creating an airplane kaleidoscope. Start with the kaleidoscope made from a mini-scope refill kit (instructions are available on our video sold on Amazon, click here for details) It's a pretty good project and the instructions can be helpful.
First, we'll start with a mini scope body. This is the kaleidoscope built from the instructions above. You won't need the video if you've already built kaleidoscopes.
Join us to receive our free weekly newsletter.
Click Here To Go To Video
Kaleidoscope Becomes An Airplane

This week we revisit the instructions to creating an airplane kaleidoscope. Start with the kaleidoscope made from a mini-scope refill kit (instructions are available on our video sold on Amazon, click here for details) It's a pretty good project and the instructions can be helpful.
Join us to receive our free weekly newsletter.
Click Here To Go To Video
Thursday, October 20, 2016
5- Rock The Glass Apart!

Our New Five Steps video is about building a Jig. I felt that the clip I put up a few weeks ago touched on this but not in enough depth.
The 5th step in Jig building is to rock the glass apart. (score it first)
ALL DONE!
Join Our Email List
4-Mark Where The Bevel Is Cut

Our New Five Steps video is about building a Jig. I felt that the clip I put up a few weeks ago touched on this but not in enough depth.
The 4th step in Jig building is to mark where to cut the bevel. Place it on the pattern, use a marker to trace where the bevel should be cut and mark the glass.
Join Our Email List
Wednesday, October 19, 2016
3-Use Strip Cutter to Determine Where Strips Go

Our New Five Steps video is about building a Jig. I felt that the clip I put up a few weeks ago touched on this but not in enough depth.
The 3rd step in Jig building is to use the strip cutter to figure where the strips should go. Then mark them, cut them to length and place them on the jig.
This is important, make sure they are placed so that the bevel sits exactly where you want it cut. If it gets turned around, you want it to fall in the same place.
Join Our Email List
Monday, October 17, 2016
2- Cut 2 -1/8" Thick Wood Strips
 Our New Five Steps video is about building a Jig. I felt that the clip I put up a few weeks ago touched on this but not in enough depth. The 2nd step in Jig building is to cut 2 -1/8" thick wood strips to be used as guides for setting glass in the jig.

About 1/2" wide will be good. Clip the corners off the strips so the head of the strip cutter can get closer to the edge of the glass.
Join Our Email List
1-Start With A Board And A Wood Strip

Our New Five Steps video is about building a Jig. I felt that the clip I put up a few weeks ago touched on this but not in enough depth. The 1st step in Jig building is to Start with A Board And A Wood Strip.
A 12 X 12 piece of plywood and a 3/4" X 1-1/2" piece of pine usually work well for me. You nail the wood strip to the board to use as a cleat which will guide your strip cutter.
Join Our Email List
Friday, October 07, 2016
You Tube Channel Is Growing

Today while doing some work on You Tube, I saw that we now have 1008 subscribers to our You Tube Channel. This seems a far cry from the 50 or so subscribers to this blog.
We currently have 68 videos on our YouTube channel. That will change shortly. We've been working with a firm to increase traffic to our website and they are just putting the finishing touches to 25 videos they've been working on for us. We expect them to be published some time next week. This should help us to get our love of stained glass message out to the world.
You know, we love all things stained glass and all things creative. As we approach the publication date of Jeanne's second Mandala book, we hope to meet more people and introduce them to the happiness and healing that can be found through stained glass.
Visit us at www.gsg-art.com, read the articles, view the creativity slideshow, and join our email list. We welcome your thoughts and insights as we share our love for the colorful art of stained glass.
Monday, April 06, 2015
Making the most of our Resources

We've had an ETSY webstore since 2009 and since it's been lackluster, we've just put up items on rare occasions.
Our daughter-in-law, Christy has a pretty successful ETSY store (christygomm) and has been encouraging us to do more with ours. So between the seminar and the encouragement from Christy, I'm adding patterns to our ETSY store.
Visit www.gsg-art.com for more about stained glass
Subscribe to:
Posts (Atom)