
Showing posts with label David Gomm. Show all posts
Showing posts with label David Gomm. Show all posts
Thursday, October 06, 2016


4 Cut The Replacement Glass

This week We put up a video which is five steps to doing a simple straight forward stained glass repair.
This fourth step is to cut, grind and fit the replacement glass. It doesn't have to be perfect. Remember that when building a panel you leave a little wiggle room, the same can be true with a repair.
To Get Additional Videos That We Don't Post To YouTube Sign Up Here
To View the video click here
3 Tap and Remove The Glass

This week We put up a video which is five steps to doing a simple straight forward stained glass repair.
This third step is to tap and remove the broken or damaged piece of glass. We do this gently so as not to damage the surrounding foil on adjacent pieces of glass.
Then as we remove the copper foil, we are careful to only remove the inner circle of foil.
To Get Additional Videos That We Don't Post To YouTube Sign Up Here
To View the video click here
Tuesday, October 04, 2016
2 Heat Up Your Soldering Iron

This week We put up a video which is five steps to doing a simple straight forward stained glass repair.
This second step is to heat up your soldering iron so you can desolder the metal around the damaged piece of glass.
To Get Additional Videos That We Don't Post To YouTube Sign Up Here
To View the video click here
Monday, October 03, 2016
1 Score The Bad Piece
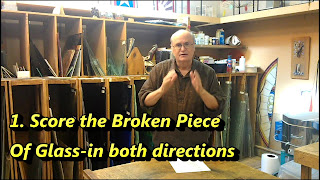 This week We put up a video which is five steps to doing a simple straight forward stained glass repair.

This first step is to cut and score the broken or damaged piece of glass. We do this in both directions so the glass will be easy to remove.
Some students have asked if they could try to save the glass by de-soldering without scoring the glass. This can be done, but we're a production studio, which means that we need to get results quickly and the extra time and effort of saving a piece may not be worth it.
To Get Additional Videos That We Don't Post To YouTube Sign Up Here
To View the video click here
Friday, September 23, 2016
5 Do the Other Side

In this weeks video, I show how a stained glass window has separated from the frame work and the steps to fix it.
The fifth thing is to do the other side. Place more foil directly over where you did on the first side, place re-strip and solder the panel.
Then clean and patina and it will be better than new.
To view the 10 min video for no charge click here
Here's your chance to register with us and get free videos and pdfs and special offers sent to you click here
Thursday, September 22, 2016
4 Solder The Re-Strip

In this weeks video, I show how a stained glass window has separated from the frame work and the steps to fix it.
The fourth thing to do is Solder the re-strip onto the copper foil, forming a lead line, being careful not to add too much heat and cracking the glass.
To view the 10 min video for no charge click here
Here's your chance to register with us and get free videos and pdfs and special offers sent to you click here
3 Clip A Strip of Metal

In this weeks video, I show how a stained glass window has separated from the frame work and the steps to fix it.
The third thing to do is clip and place a strip of re-strip metal over the copper foil tape you just added. This will add a great amount of strength.
To view the 10 min video for no charge click here
Here's your chance to register with us and get free videos and pdfs and special offers sent to you click here2 Add Copper Foil To Begin to form a New Lead Line

In this weeks video, I show how a stained glass window has separated from the frame work and the steps to fix it.
The second thing to do is add copper foil tape where you want to form a strong lead line. Clean the glass well so the foil will stick readily to the glass, use a craft knife or box knife to trim the ends of the foil.
To view the 10 min video for no charge click here
Here's your chance to register with us and get free videos and pdfs and special offers sent to you click here1 Pull Metal Back

In this weeks video, I show how a stained glass window has separated from the frame work and the steps to fix it.
The first thing to do is pull the separated metal back into place. I simply nailed some wooden blocks to the work bench to give myself a clamping surface, then used wood clamps to gently pull the metal back into place.
To view the 10 min video for no charge click here
Here's your chance to register with us and get free videos and pdfs and special offers sent to you click hereThursday, September 15, 2016
Mandala Book nearing completion
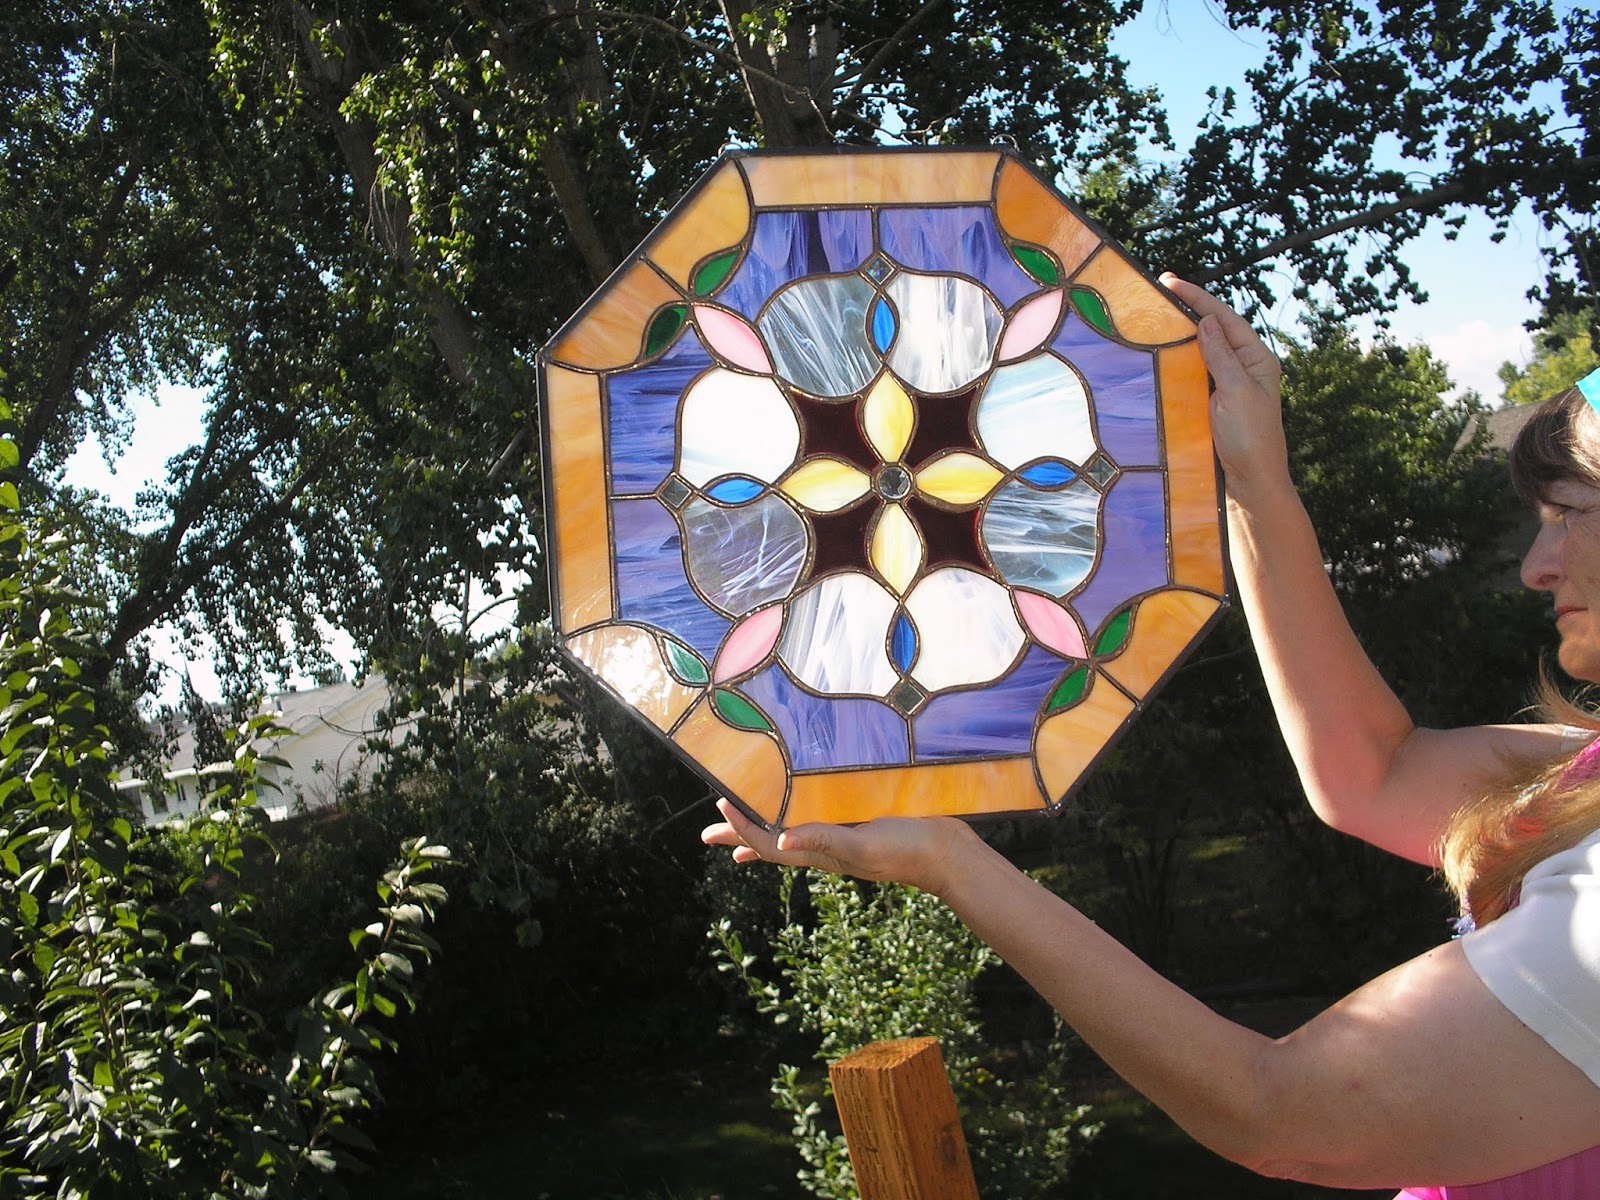
We're getting close to finishing Jeanne's second Mandala book. It's been all but done for two years! But by setting aside every Thursday morning to work on the pages that are nearly done, we're getting close.
I put up a short video on facebook yesterday, asking for comments on which of the two themes folks like the best. If you're not following us on facebook, please go to our website, gsg-art.com and click on the facebook button at the top. Then follow us and watch the video and comment on which you like best. I put it on youtube you can click here to get to it.
Here's your chance to register with us and get free videos and pdfs and special offers sent to you click here
Tuesday, September 13, 2016
5. Do The Other Side
 The Final Step in this process is to Do The Other Side. Just the same as before, it'll want to be clean, loosen all tape and paper and clean it well. Then mix up the envirotex lite and pour it on, letting it cover the entire panel and then blow on the surface to get rid of the bubbles.

This is technique is a last ditch attempt to save a panel. I hope you never have to use it!
To view the 10 min video for no charge click here
Here's your chance to register with us and get free videos and pdfs and special offers sent to you click hereThursday, September 08, 2016
4. Blow On The Panel
 The next step is easy, blow on the panel. The carbon dioxide in your breath will cause the bubbles in the epoxy to pop allowing the finish to become smooth and clear.

This is such a simple process, but I didn't do as good a job on the back of my repair and left some bubbles. So it's very important. And once it's hardened, there's no fixing it
To view the 10 min video for no charge click here
Here's your chance to register with us and get free videos and pdfs and special offers sent to you click hereWednesday, September 07, 2016
3. Mix and Apply Envirotex Lite
 Third Step is to mix and apply Envirotex Lite. This pour on clear finish can by found on-line readily and has good directions on the box.

You mix the two parts together, stirring gently to avoid creating bubbles. Then gently pour onto the panel and then tilt the panel allowing the mixture to spread over the entire surface of the stained glass, much like you might spread oil on a cookie sheet or bread pan.
To view the 10 min video for no charge click here
Here's your chance to register with us and get free videos and pdfs and special offers sent to you click hereTuesday, September 06, 2016
2.Tap Pieces In Place

This second step is titled, Tap Pieces in Place ..and actually it's all about preparing the glass for the repair You will need to tap the pieces into place and clean the panel, anything left will get encased in the epoxy.
Another part of the preparation is to tape small pieces of paper on the back of the panel to keep the back sealed. You don't want epoxy to run through onto your work surface. It may be a good idea to lay down wax paper beneath the glass to protect your work bench.
To view the 10 min video for no charge click here
Here's your chance to register with us and get free videos and pdfs and special offers sent to you click hereMonday, September 05, 2016
Step 1. Evaluate

The first, and maybe most important step in repairing a severely damaged window is EVALUATION. You need to look long and hard at the severely damaged window. Is there really no way to repair it using conventional methods? If this last ditch effort is the only way to save the piece is it really worth saving? Remember this, if something goes wrong you may end up ruining the piece, so think about this when evaluating if the window is worth repairing.
To view the 10 min video for no charge click here
Here's your chance to register with us and get free videos and pdfs and special offers sent to you click hereSunday, September 04, 2016
I just added a new youtube video. click here to see it. We are trying to put up 5 step videos to add to the joy and entertainment that our stained glass friends will find amusing and helpful. This particular window was especially loved by us. It became destroyed one dark night after hanging in out studio. Kids moving furniture denied any knowledge of the broken window. It was just one of those unfortunate circumstances and then I began wondering if we could coat the damage with the kind of resin they put on tables made of plywood, usually covered with pennies or cards.
So, we tried it, and it worked.

Here's your chance to register with us and get free videos and pdfs and special offers sent to you click here
Sunday, August 28, 2016
A New Feature On Our Site

It would be helpful if you would click the link below to help me test to see if this is working.
http://eepurl.com/cbdCQr
Saturday, August 27, 2016
My Story

Readers often become writers, and that's what happened to me. My sister and I tried to write a newspaper when I was in fourth grade and she was in second. With no sales and the readership of our less enthusiastic parents, it didn't last long, but the desire was there.
In high school I began to dream first of college and film school, but then of being a writer. I wrote over 120 poems for my high school literary magazine, all were accepted, then they had me choose the 15 I liked most to be published.
I wrote a small book of poetry and sold some copies door to door. It was about the writing. I didn't know how to market myself, but I loved the creativity of the written word. Later in life I began writing fiction and went so far as to self publish a science fiction novel. Others are at various stages of completion.
As life lead me into drafting and engineering jobs, I found several opportunities to work as a technical writer and illustrator. But the big break that I found was that I needed content for my stained glass website. That has been a wealth of practice and experience as I've written a monthly newsletter and answered peoples questions as an expert on "I How" and "AllExperts".
In high school, as I mentioned that I'd like to be an author, every single teacher said, "Oh you don't want to do that!" Every single one. No voice of encouragement at all! I sure am lucky to have found a chance to do what I love (writing about stained glass, filming videos about stained glass and helping Jeanne in promoting stained glass)
Thursday, August 25, 2016
Seven Down, One To Go!

It hasn't yet been cleaned or patina'ed. I've placed it on 1" foam strips and blocks because its got a 3/4" reinforcement strip on the back of the panel. This runs up the center diagonal of the panel and will keep it from sagging, but for now it keeps the panel from lying flat on the table.
The panels will hang flat so gravity will be trying to pull the glass down. This extra strip will keep it rigid.
So, with 7 of the panels complete (4 delivered this week) I only have one to go. This is an especially gratifying job because it will go somewhere that it will be seen! Station 22 is a restaurant located in the historic Provo Town Square (22 Center St Provo, UT 84601). One of the skylights is in the restaurant and one is west in the walk through between the front and the back of the complex.
We'll be adding a few more pictures of this project as it gets installed. Visit us at www.gsg-art.com I've changed things around a bit to help navigation to be easier. Let me know what you think.
Subscribe to:
Posts (Atom)